Ascii Art Graphical Filter
April 25, 2025 - Simon AmbrozakAbout a year ago, I watched a YouTube video by Acerola about a graphical filter that turned video games into ascii art. I would highly recommend giving it a watch, as it goes in-depth into the math behind image processing and whatnot.
I recently remembered the video and decided to give recreating it a shot. I didn’t remember the technical details, so I came up with my own image processing methods as I went. Here’s my development process:
What is Ascii Art?
Ascii art is the practice of using text characters, (A,B,C, |, _, ~, etc.) to create art.
Here’s ascii art of a fish:
           ,-.           ,.---'''^\                  O
          {   \       ,__\,---'''''`-.,      O    O
           I   \    K`,'^           _  `'.     o
           \  ,.J..-'`          // (O)   ,,X,    o
           /  (_               ((   ~  ,;:''`  o
          /   ,.X'.,            \\      ':;;;:
         (_../      -._                  ,'`
                     K.=,;.__ /^~/___..'`
                             /  /`
                             ~~~  Zeus
This project automates the creation of ascii images using multiple image processing techniques, and heavy use of the Pillow and numpy libraries.
First Steps
Before I could start looking at a target image to convert into text, I first had to create a set of character images I could use to perform calculations with, and overlay onto the image.
I used a monospace font to simplify spacings between characters, and I settled on Cascadia Mono, the default font for VS Code. For the characters I used, I limited the set to just those on the keyboard. I feel like glyphs and shapes (such as the block character: ▮) would defeat the purpose of a retro-style filter.
I used the Image, ImageDraw, and ImageFont libraries from Pillow to create each character image.
To make math easy going forward, I made sure all character images I generated were of size 2n - 1 x 2n - 1, so when padded to add space between each character, they each took up 2n x 2n pixels. This made the math simpler for pooling operations.
The program can generate characters of any size, but all images below will be shown with 15x15 characters (padded to 16x16):

Creating Black and White Images
Before doing anything fancy, I began by creating black-and-white ascii images.
To do this, the program finds the average brightness of each 16x16 area in the target image, then draws the ASCII character with the closest brightness over that area.
First the program has finds the average pixel brightness of each character image. This would be 255 for an image of only white pixels, and 0 for only black.
In practice, the “brightest” character only has an average brightness of about ~130, so each character’s brightness was multiplied by 2 to increase character variety in bright areas of the target image.
All calculations were done by converting images loaded with Pillow into numpy arrays for processing, then back into images through Pillow.
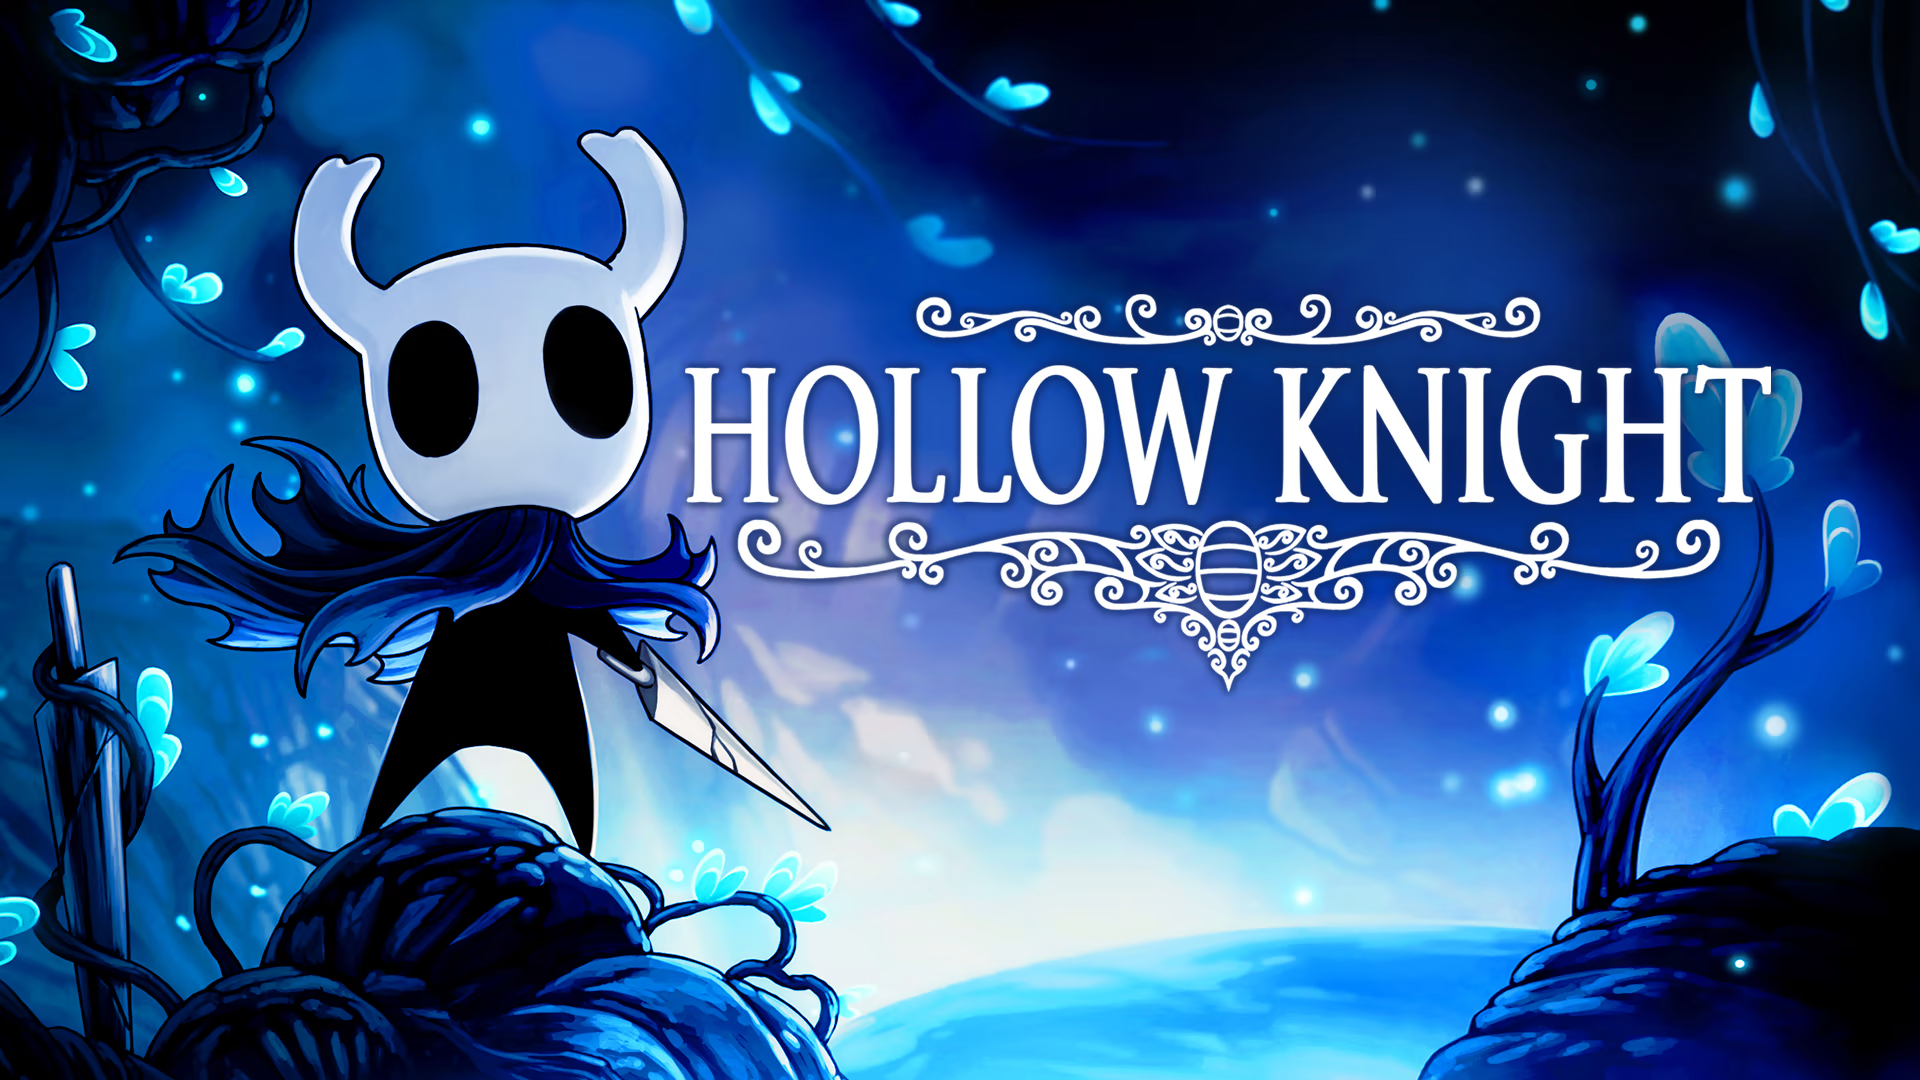
Through this, the starting image is taken from the original:
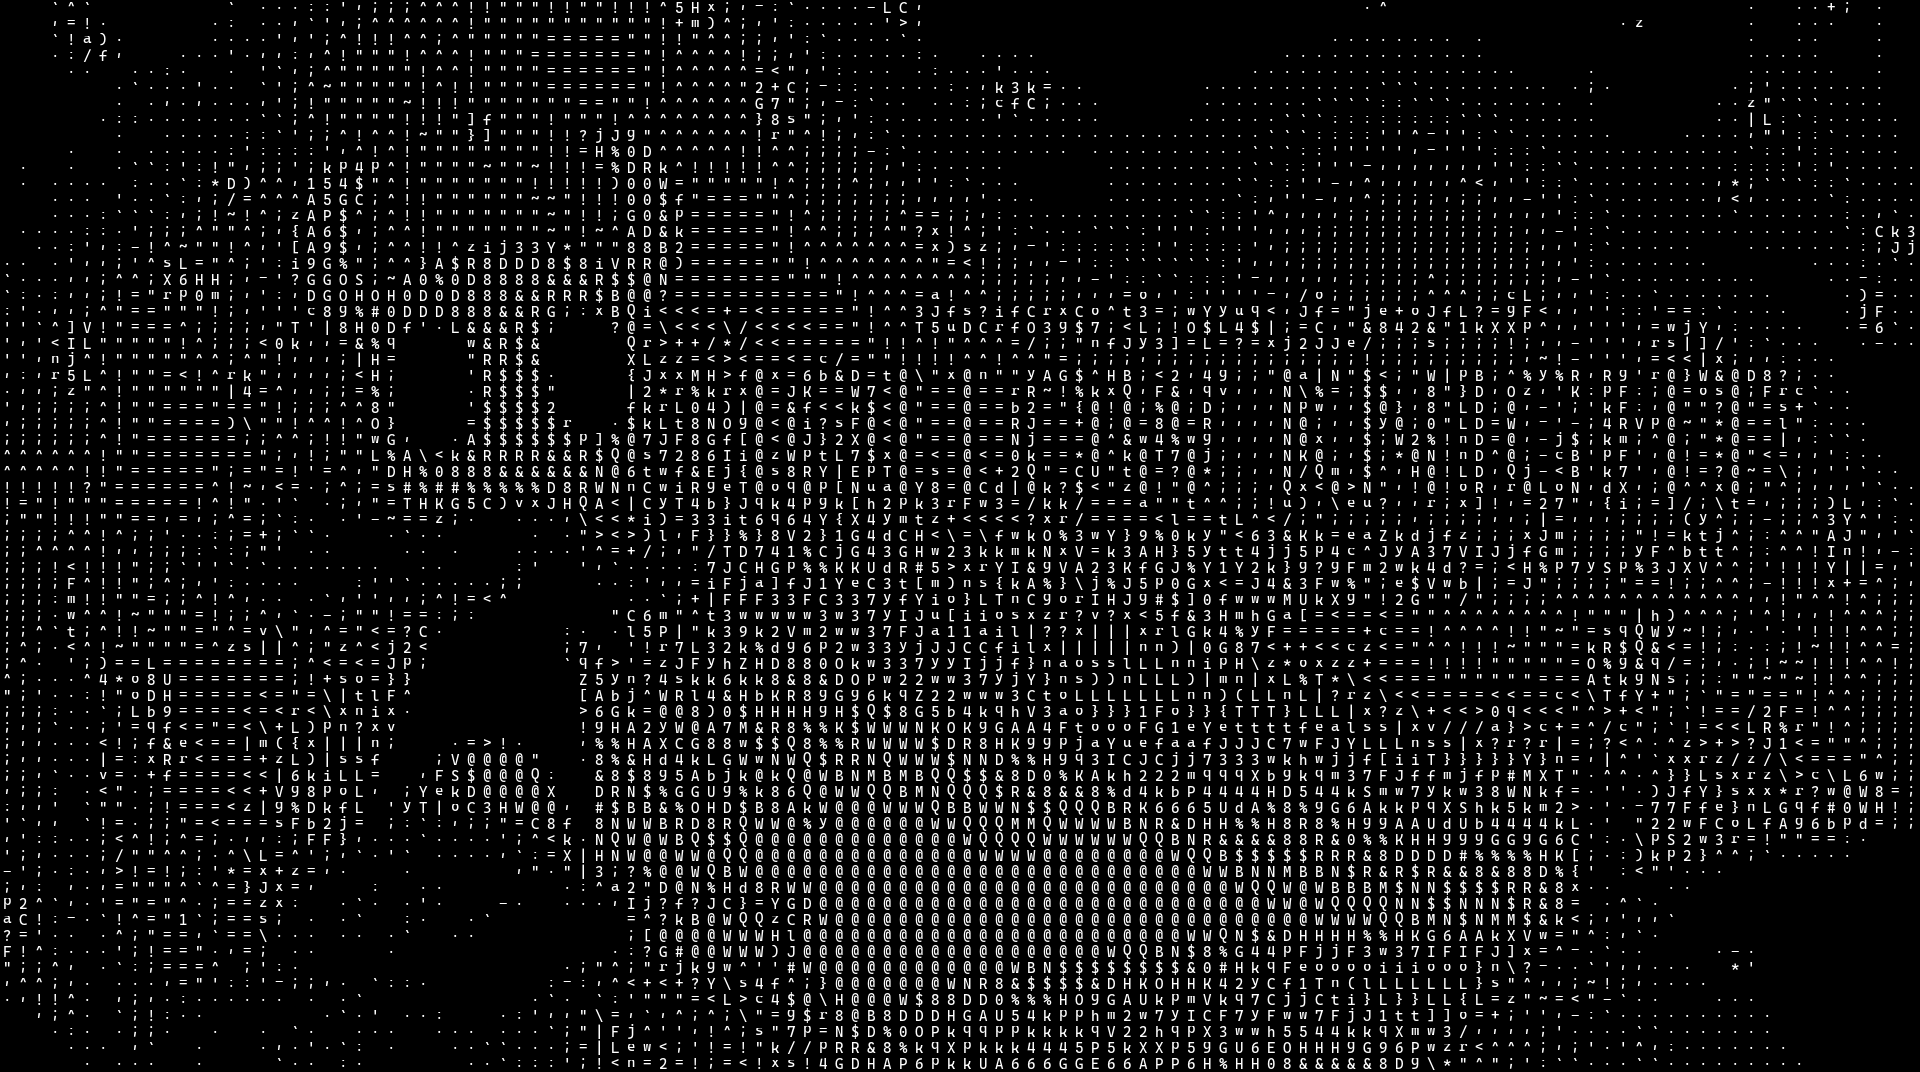
To a black & white “traditional” ascii art image:
Adding Color
To make the images “pop” and have better contrast, I took the average RGB value of each 16x16 area in the target image, and multiplied it the brightness of each pixel in the chunk’s character image to tint it before drawing on the screen:
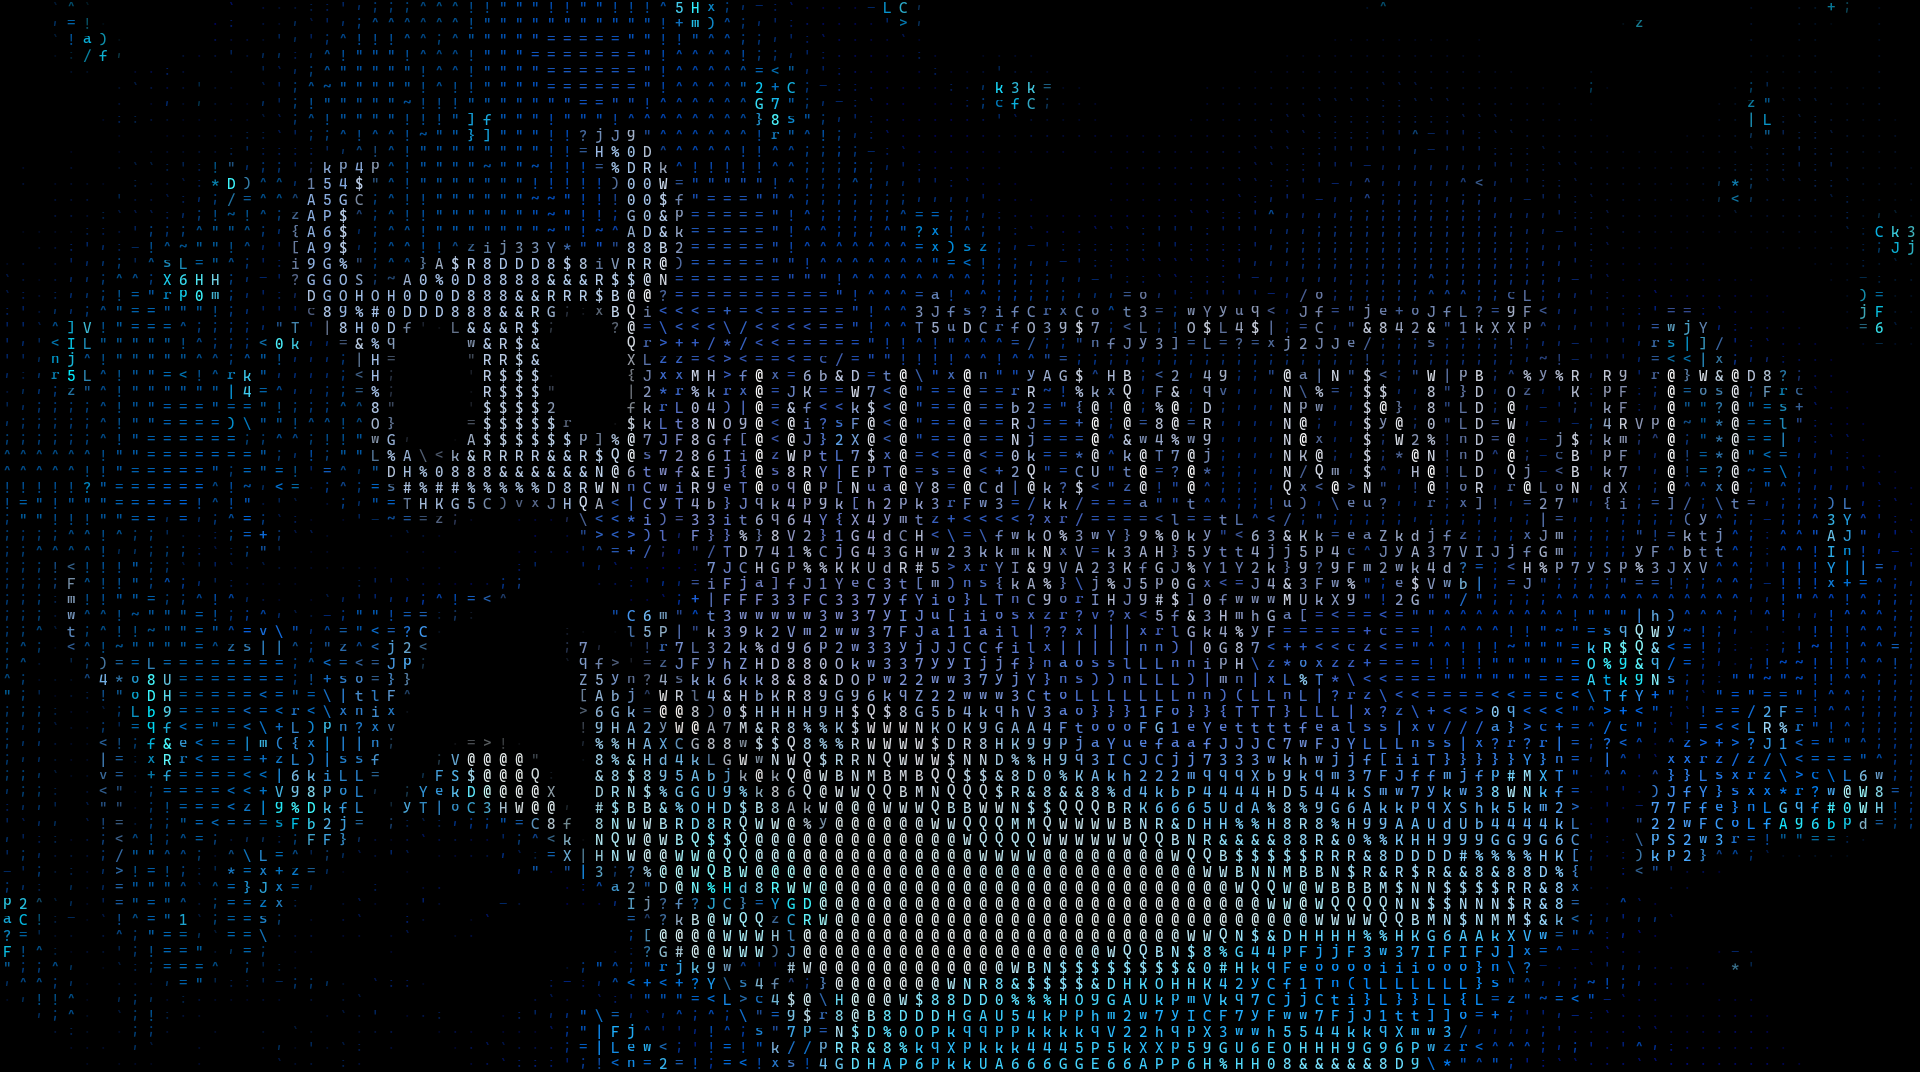
You may notice a problem here. Dark areas in the target image get ASCII characters with less pixels (making the areas look dark in the output), and those ASCII characters are made the same color as the target area. That’s two darkening effects! The dark areas are too dark.
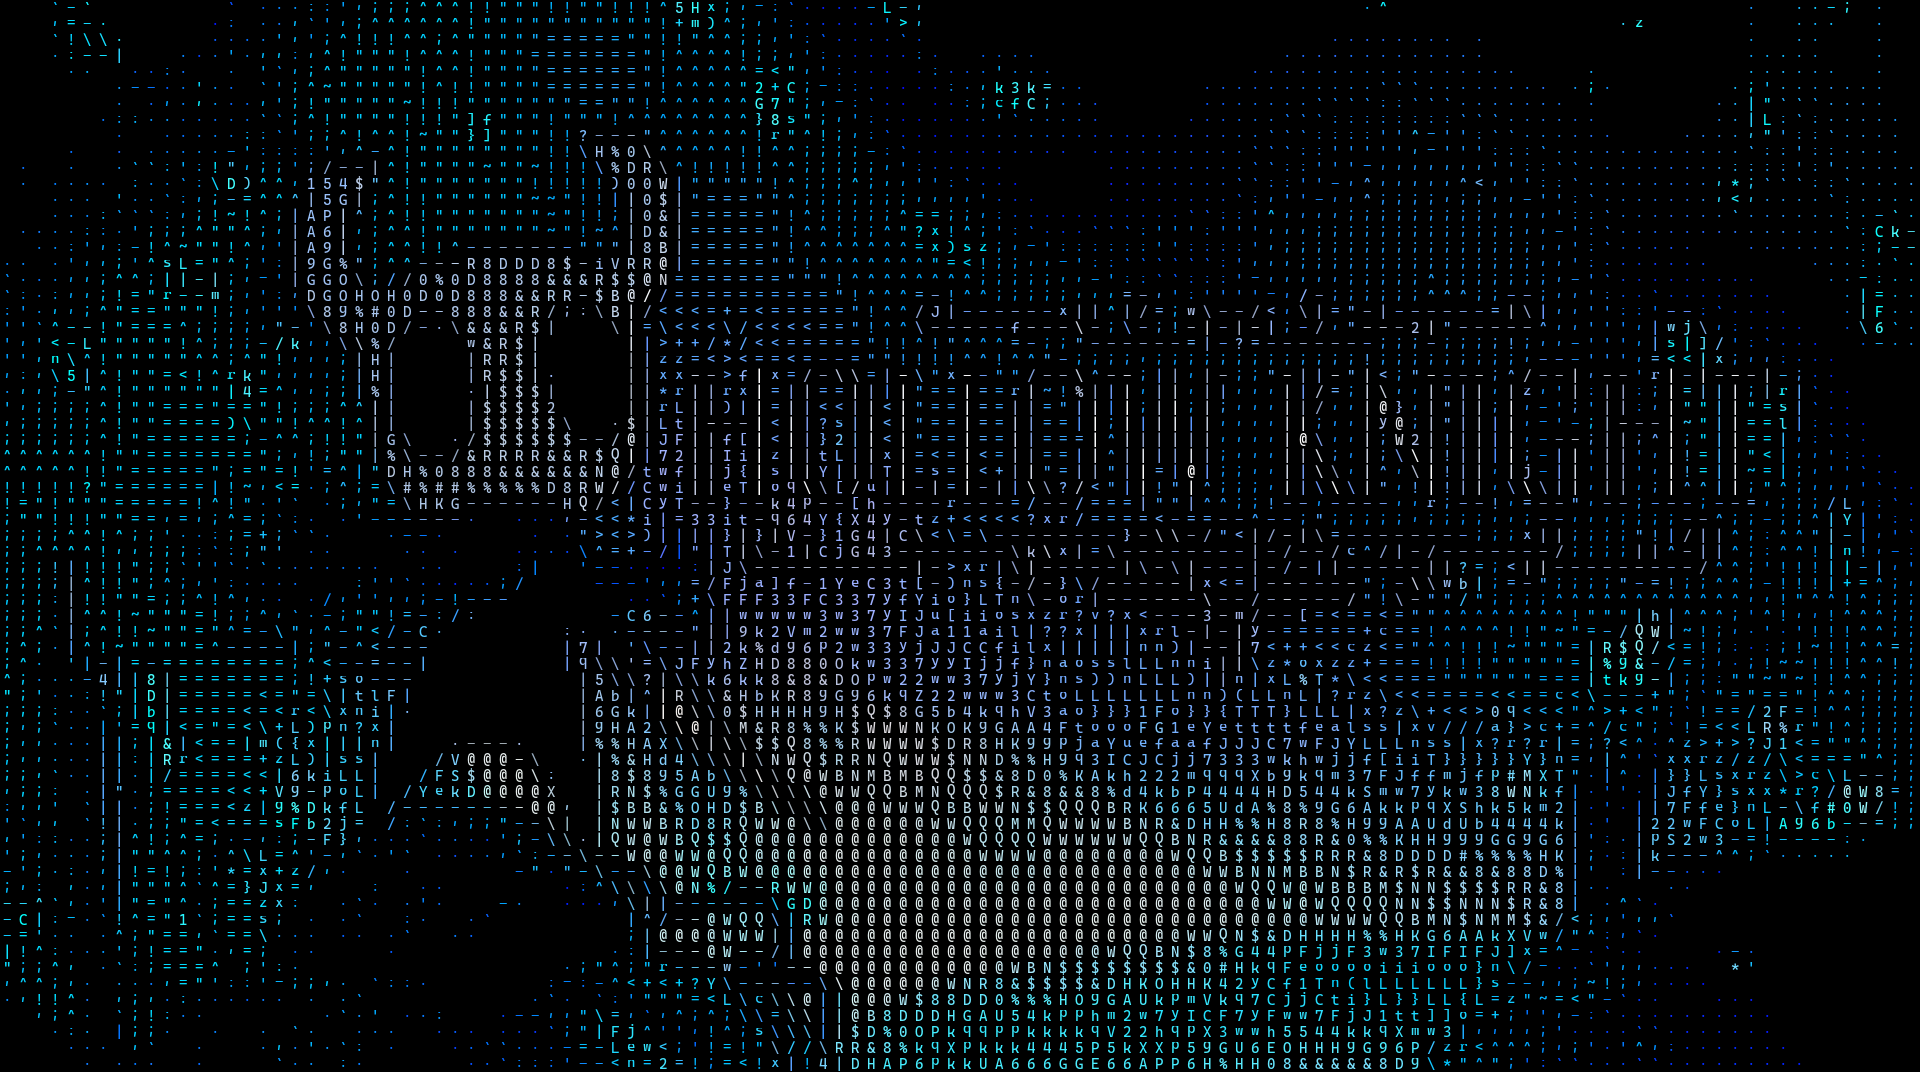
To correct this, I brightened the RGB values of areas with an average brightness below 200, which resulted in a better spectrum of light to dark in the output:

This could be a good place to stop, but I wanted to implement one more thing to give the images more clarity, as well as a more hand-drawn, retro look: edge detection.
Edge Detection
I began edge detection using a combination of Pillow’s BoxBlur & FIND_EDGES filters, image brightening & brightness cutoffs, as well as the skeletonize function from skimage to make all the edges in the output only a single pixel wide.
From that, my program extracts the basic outline of shapes:

Edge Type Discrimination
To differentiate between vertical, horizontal, forward slanted, and backward slanted edges, I hand-made 4 convolution filters that pass over the edgemap. Here’s the filter that detects vertical edges:
[-2,  0,  1,  0, -2],
[-2,  0,  1,  0, -2],
[-2,  0,  1,  0, -2],
[-2,  0,  1,  0, -2],
[-2,  0,  1,  0, -2]
This filter is multiplied element-wise over every 5x5 region of the black and white edgemap, then summed up. A positive number signifies a vertical edge in that location, while zero or a negative number means there’s no vertical edge.
To make the edge detection the same resolution as the goal ASCII image, I passed each edge detecting channel through a 2x2 sum-pool filter until the target resolution was reached.
Here’s the 4 channels separated by edge type:


Overlaying Edges
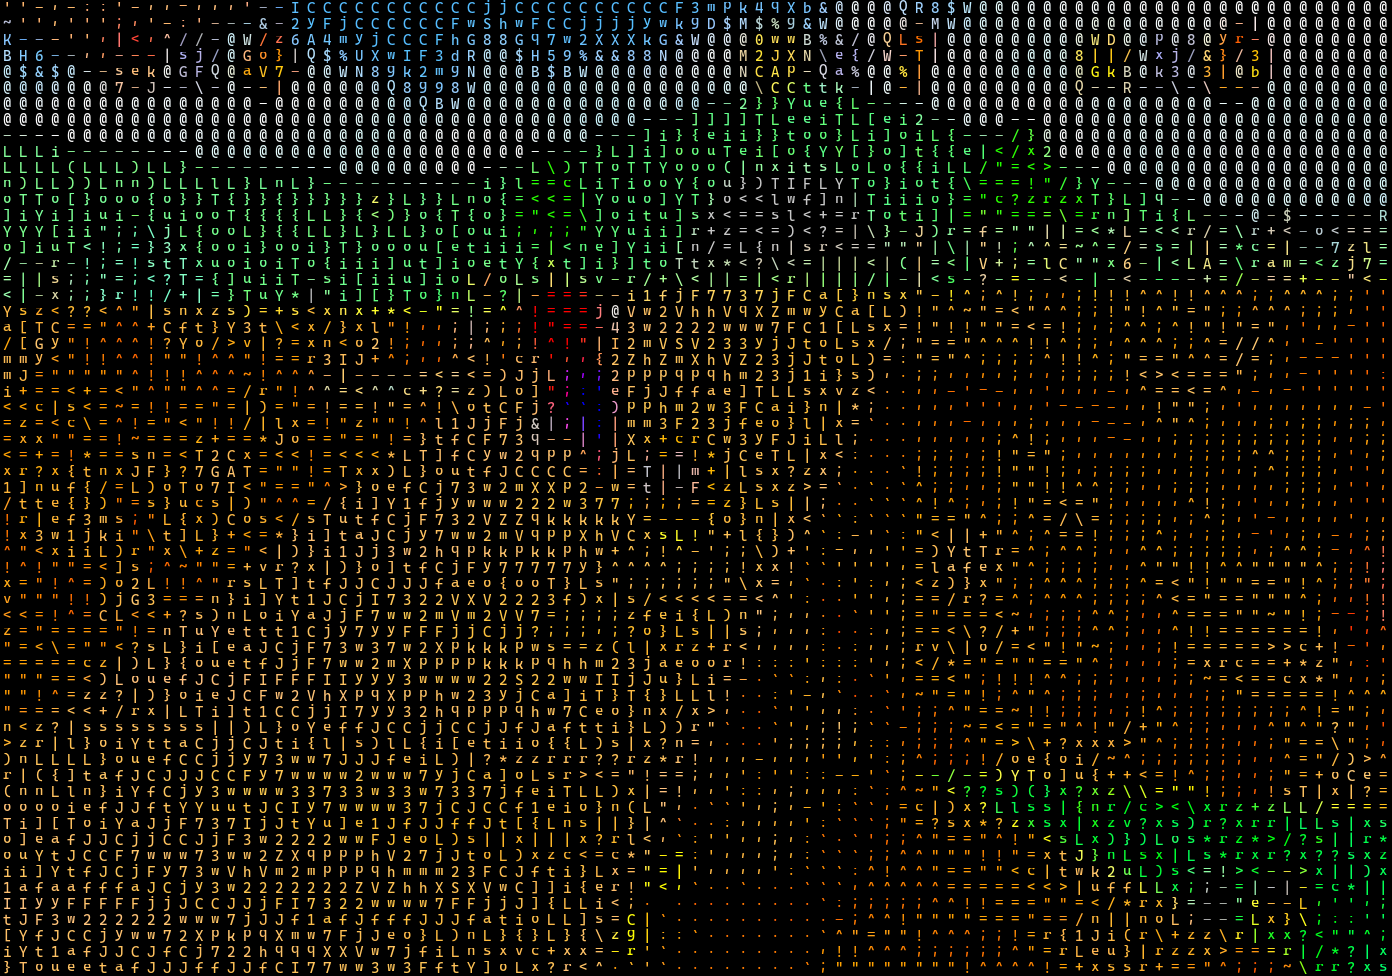
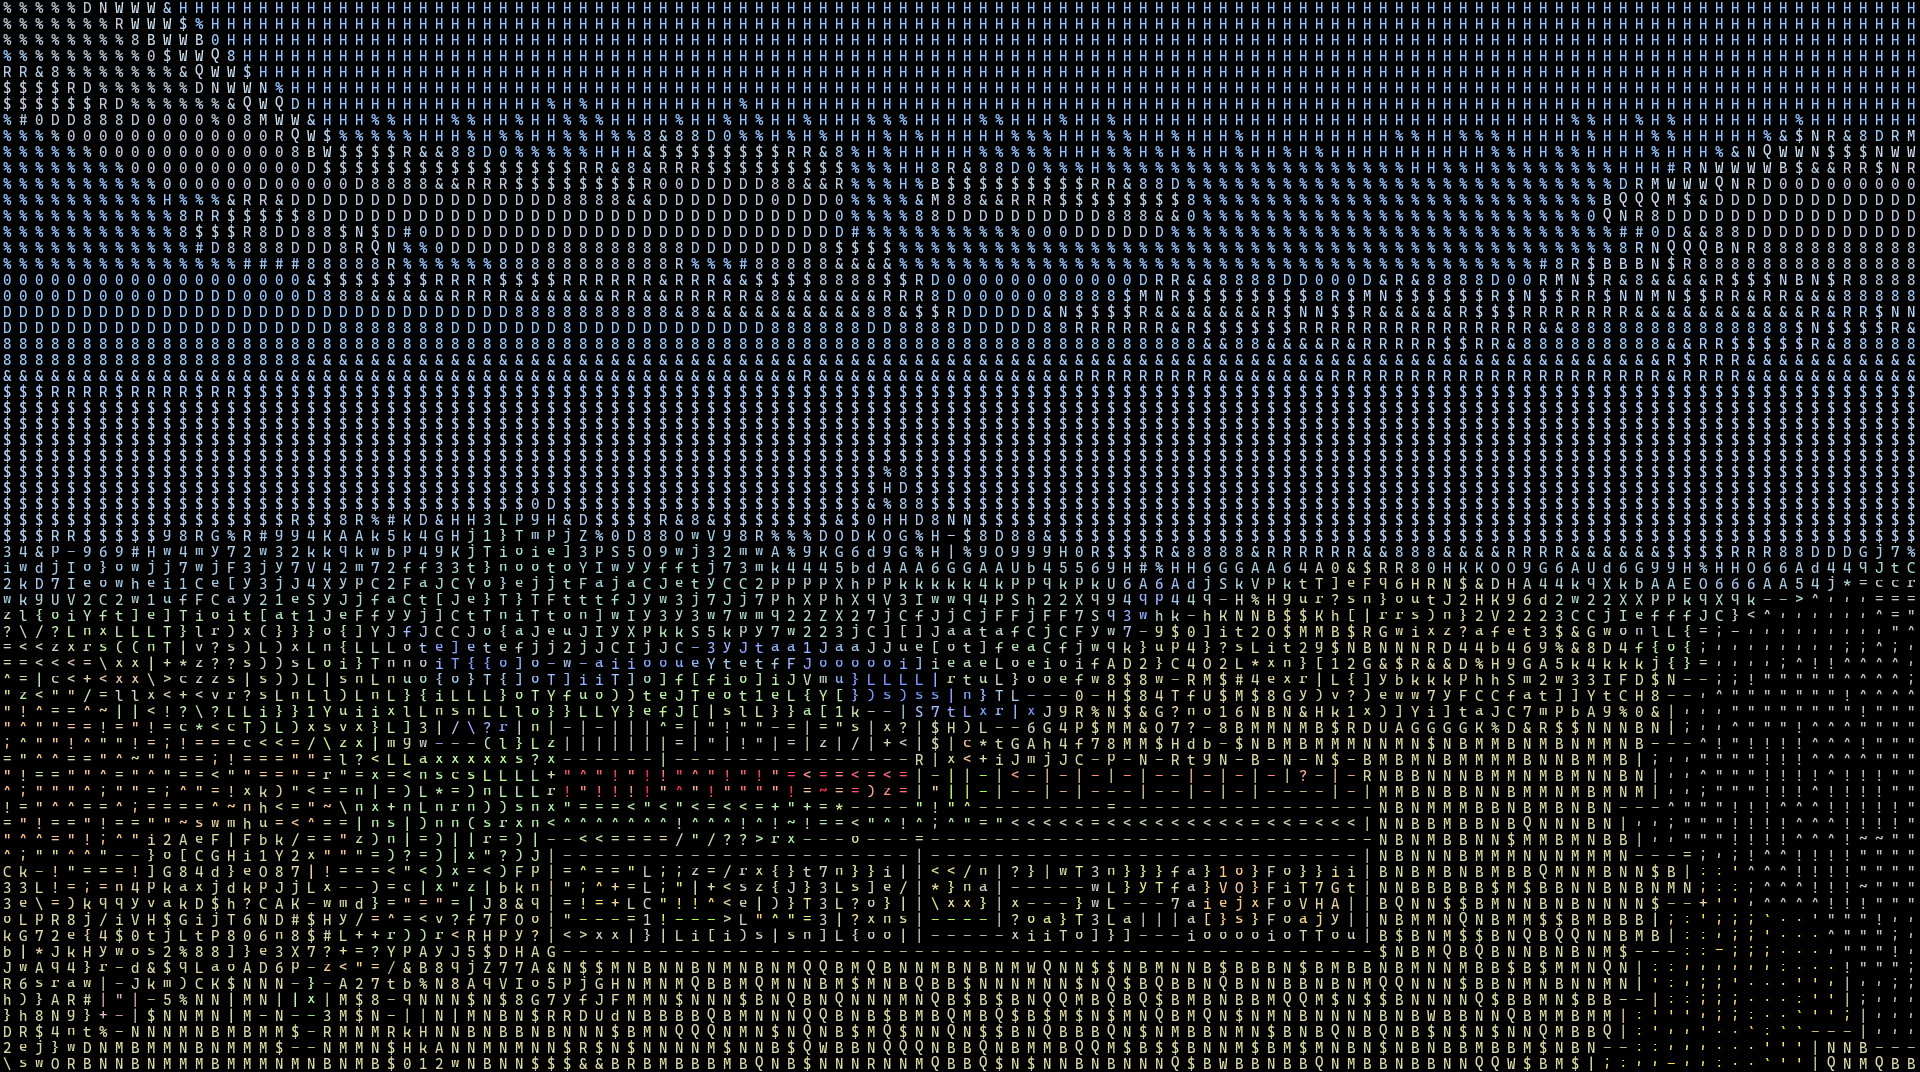
Now, all that’s left to do is go through each 16x16 area, find the edge channel with the highest signal for that area, and overlay that edge onto the ASCII art image (after adding color and boosting brightness, again). This leaves us with our final product:
Here are a few other games passed through the filter:
And here’s a video of Maliketh’s mid-fight cutscene from Elden Ring, (mp4 format washed out the image color, unfortunately):
Thanks for reading! I also made a web version of this project so you can make your own ascii images.